Downloads

MA_Video in Photoshop

IMG_6407.mov

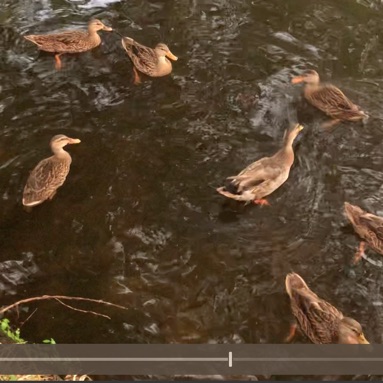
IMG_6381.mov

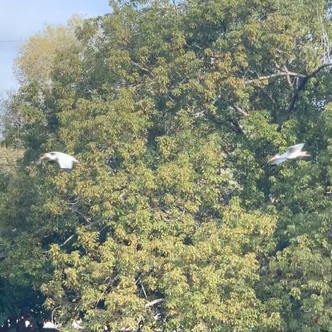
IMG_7594.mov
Join to Download
Already a member?
Log in to download.
Editing Video in Photoshop
In this lesson you’ll learn how to edit video in Photoshop. You’ll see how to combine multiple clips, add transitions, adjust volume, add music and much more. You’ll also see how layers relate to the video timeline and get just a hint at what we could cover an more intermediate and advanced lessons on this topic. Please let me know in the comments if you’d like to see more in-depth lessons on this topic.
There are a few concepts that I didn’t get around to covering in this lesson that you might want to know about:
Linked Footage: When working with video in Photoshop, if you save your file with the layers and all, the file does not have the original video files embedded into it and therefor requires that the original files remain in the same location so Photoshop can find them the next time the file is opened. Only after using the share icon will you have a file that does not rely on the having access to the original video files.
Timeline Colors: The color of each clip in the timeline indicates if a clip is a video (blue), audio (green) or smart object (purple).
Skipped Frames: With default settings, Photoshop will attempt to show you every frame that makes up your video when previewing the footage. If you find that previewing is too slow, then turn on the Allow Frame Skipping option in the hamburger menu in the upper right of the timeline to give it permission to skip frames in the video for smoother previewing.
Combining Video Files from Lightroom: If you loaded multiple video files using an export preset in Lightroom, then they’re going to appear as separate documents in Photoshop. If you’d like to combine those clips into a single Photoshop file, then choose one of the documents as the destination for all the open files and remember its name. Next, switch to any of the other documents, hold the Option key (Mac), or Alt key (PC) and drag the layer to the new layer icon (sheet of paper with corner turned up icon) at the bottom of the layers panel and choose the name of the destination from the document pop-up menu. Once you’ve clicked OK, then close the active document and repeat for all other open files until the only document open is the destination document. (or just export all the videos to your desktop and use Bridge to combine them like I showed at the beginning of this lesson)