Downloads

MA_Linear Image Refinement
2015-0413-Keelung Taiwan-snapshots.zip
Join to Download
Already a member?
Log in to download.
Linear Image Refinement
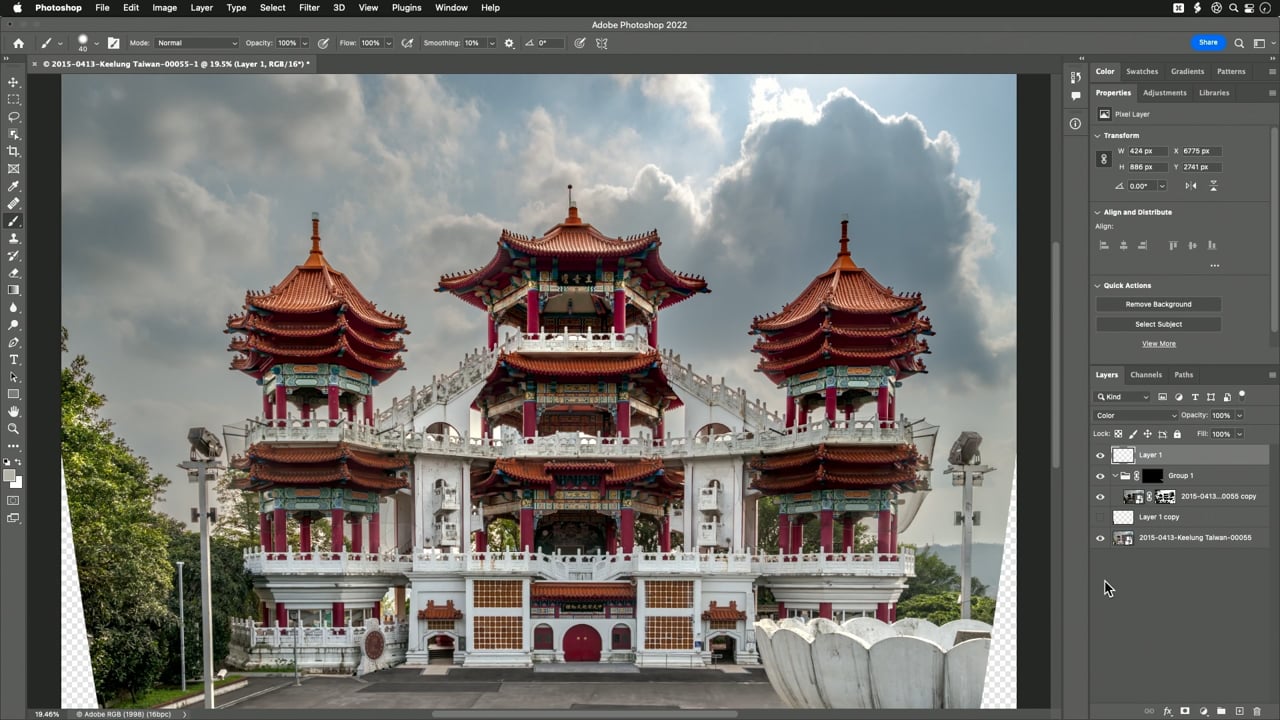
In this lesson I continue work on one of the images that we worked with last week when we discussed Linear Raw Profiles. I had originally planned to further refine the image in Photoshop, but ended up making the refinements using Lightroom Classic, which has the same adjustment features as Adobe Camera Raw (ACR). I then opened the image in Photoshop so I could fix an area in the lower right corner and also filled in the empty areas that were produced by applying geometric corrections.
Note: I failed to mention that after applying Transform Upright to compensate for the distortion caused by tilting my camera upward, I then adjusted the Aspect slider that is found in the same area to compensate for the squished appearance of the image. I’m not sure if I had that turned on when I opened the image into Photoshop while recording this lesson.
The downloadable practice image for this lesson has been compressed into a .zip file since this web site doesn’t accept .dng file format. That means that you’ll have to double-click on the file after downloading to extract its contents before attempting to use the file in Lightroom or Photoshop.